Building a custom PC has become increasingly popular, allowing users to tailor their machines to their specific needs and preferences. But unlike buying a pre-built PC, building your own requires more effort and planning. So, how long does it take to build a PC?
This guide will explore the factors to consider before building a PC, the essential components you’ll need, and a sample timeline to give you a realistic idea of the time commitment involved.
The Essential Components

Before we delve into the whirlwind of assembly, let’s take a moment to understand the essential components that form the foundation of your PC. Think of them as the building blocks that will bring your dream machine to life:
-
Processor (CPU): The brain of your PC, the CPU is responsible for executing instructions and handling all the heavy lifting.
-
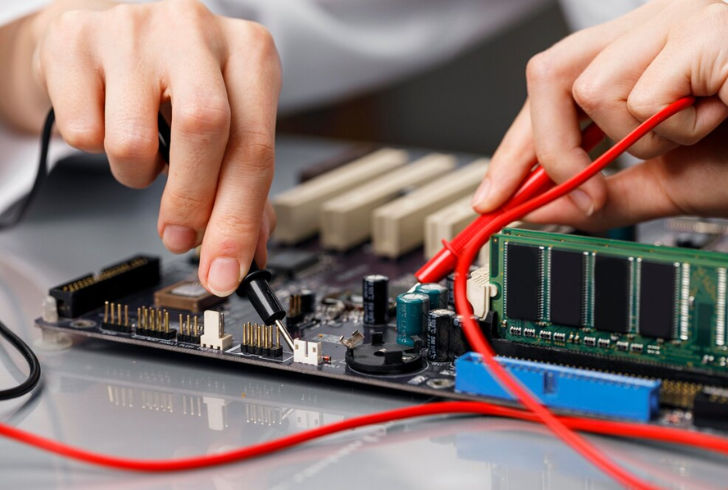
Motherboard: The motherboard acts as the central nervous system, connecting all the other components and facilitating communication between them.
-
Random Access Memory (RAM): Consider RAM the short-term memory of your PC. It stores data that the CPU needs to access quickly for smooth operation.
-
Power Supply Unit (PSU): The PSU is the lifeblood of your PC, converting incoming power from the wall outlet into voltages that your components can use.
-
Storage Drive: This is where all your data resides, from your operating system to your favorite games and documents. There are two main types: Hard Disk Drives (HDDs) and Solid State Drives (SSDs).
-
PC Case: The PC case houses all your components and provides protection, cooling, and even a platform for customization.
-
Graphics Card (GPU): For gamers and creative professionals, a dedicated graphics card is a must-have. It handles graphics processing, rendering visuals with stunning clarity and speed. While not essential for basic tasks, a GPU can significantly enhance your PC’s performance.
-
Optional Components: Depending on your needs and preferences, you might consider additional components like extra cooling fans, RGB lighting for a touch of personalization, or even a custom liquid cooling system for high-performance builds.
Assembling Your PC – A Step-by-Step Guide (and Timeline)

Now that you’re familiar with the key components, let’s dive into the exhilarating process of assembling your PC. We’ll provide a general timeline to give you an idea of how long each step might take, but remember, this is just an estimate. Your actual build time can vary!
1. Unboxing and Prep (5-20 minutes)
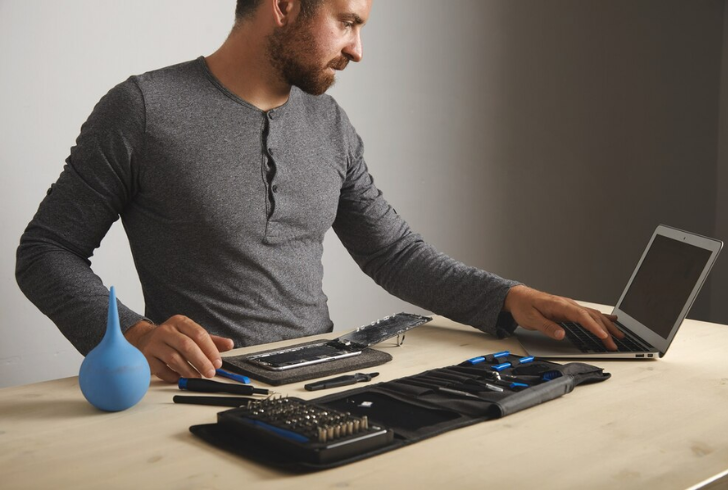
Gather your tools (screwdrivers, zip ties, etc.) and lay out all your components on a clean, well-lit surface.
2. Motherboard Setup (30-40 minutes)
Carefully install the CPU, RAM, and storage drives onto the motherboard. Don’t forget to mount the CPU cooler!
3. Installing the Motherboard (20-40 minutes)
Secure the motherboard within your PC case, ensuring proper alignment and connection to the front panel headers. This is a great time to start thinking about cable management for a clean and organized look.
4. Power Supply Unit Installation (10-20 minutes)
Mount the PSU in your case and connect the necessary cables to the motherboard and other components.
5. Graphics Card Installation (10-15 minutes)
If you’re using a dedicated GPU, carefully remove the PCI-e slot covers and install the card securely.
6. Finishing Touches (5-10 minutes)
Double-check all connections, ensure all components are properly seated, and organize any remaining cables for optimal airflow.
7. Additional Component Installation (Variable)
Installing extras like RGB lighting or a custom liquid cooling system will add time depending on the complexity of the setup.
Remember, this timeline is a starting point to understand how long does it take to build a PC. For beginners, the entire process might take anywhere from 2-4 hours, while seasoned builders can potentially complete it in under an hour. Don’t be afraid to take your time, consult online resources if needed, and enjoy the process of creating your very own PC masterpiece!
Additional Considerations

While building the PC is certainly a thrilling chapter, there’s more to the story. Here are some additional factors to keep in mind:
1. Research is Key: Before diving headfirst into purchasing components, spend ample time researching different options. Consider your specific needs and budget to ensure you’re selecting compatible parts that will work together seamlessly.
3. The Software Symphony: Once your PC is assembled, it’s time to install the operating system (OS) and drivers. This might seem daunting, but there are plenty of user-friendly resources available online to guide you through the process. Popular choices for PC operating systems include Windows, Linux, and macOS (for compatible Apple hardware builds).
4. Testing, Testing, 1, 2, 3! Before diving into your favorite games or applications, put your PC through its paces with stress tests. These tests will help identify any potential stability issues or overheating problems. There are various free and paid software options available for stress testing your PC.
5. The Journey Continues: Building a PC is just the beginning! As technology evolves, you might consider upgrading components in the future to maintain peak performance. The beauty of building your own PC is the flexibility to customize and adapt it to your ever-changing needs.
By following these tips and understanding how long does it take to build a PC, building your own computer can be a rewarding and empowering experience. You’ll not only end up with a machine tailored to your specific needs, but you’ll also gain valuable knowledge and a newfound appreciation for the inner workings of your digital companion.
So, what are you waiting for? Start planning your dream PC build today, and get ready to embark on this exciting journey of creation.
